Selenium WebDriver is a popular tool for automating web application testing, and it supports various programming languages, including C#. Its primary testing tool is the IWebDriver interface, which simulates an ideal web browser.
In this blog on IWebDriver, we will explore the IWebDriver browser commands in C# and how they can be used to control the behavior of a web browser during testing.
Understanding these commands is essential for automating interactions in web pages or web applications. We will start with a brief overview of IWebDriver and then dive into the various commands, such as navigating to a URL, clicking elements, sending keys to elements, and more.
By the end of this blog on IWebDriver, you will understand IWebDriver browser commands in C# and how to use them effectively while performing C# automation testing.
Discover the top 70+ essential Snowflake test templates to ensure your data’s integrity, accuracy, and consistency. Download our comprehensive template now.
What is IWebDriver in Selenium C#?
IWebDriver in Selenium C# is an interface used to create a connection between Selenium WebDriver and the web browser to automate web applications.
Selenium WebDriver allows users to interact with web elements, navigate between pages, and execute actions on a web page.
The IWebDriver interface provides a set of commands and properties that enable developers and testers to perform automation testing of web applications using C# programming language.
With IWebDriver, users can write scripts that mimic human actions on a website, making it an essential tool for web developers and testers who need to test their web applications efficiently and accurately.
You can learn more about the IWebDriver interface through this blog on Selenium 4 WebDriver Hierarchy.
IWebDriver Browser Commands in Selenium C
IWebDriver browser commands in C# allow you to interact with a web browser programmatically. Some interactions possible using IWebDriver browser commands in C# are:
navigating to a URL
clicking elements
entering text into form fields
They are part of the IWebDriver interface in C# and provide a standard way to control a web browser for automated testing.
Common IWebDriver Browser Commands
The most common IWebDriver browser commands in Selenium are the ones that deal with the current web page information, navigating between pages, managing windows, and switching between windows, frames, and alerts. I’ll explain them briefly, but we must create a new driver instance before that. We will be demoing the same on the cloud grid like LambdaTest.
When performing Selenium C# testing, utilizing a cloud Selenium Grid like LambdaTest can offer numerous advantages that are difficult to achieve with a local Selenium Grid. Not only does it provide scalability, reliability, and security, but it also allows for a broader range of browser coverage and test execution in parallel. This level of flexibility and efficiency is impossible with a local Selenium Grid.
%[INVALID_URL]Subscribe to the LambdaTest YouTube Channel and stay updated with the latest tutorials around Selenium testing, Cypress testing, and more.
LambdaTest offers the added advantage of effortlessly obtaining browser properties through the Automation Capabilities Generator. The utility covers everything once you choose the desired OS, browser combination, and versions. This ensures accuracy and provides a plethora of valid combinations and data while minimizing any chances of error. With this feature, you can have your code ready to use quickly!
Get a head start on your Jenkins test templates with our pre-built template for continuous testing. Explore this comprehensive list of test cases and scenarios.
Below is the common code that will be a part of all the IWebDriver browser commands:
using OpenQA.Selenium;
using OpenQA.Selenium.Chrome;
using OpenQA.Selenium.Remote;


namespace SeleniumCSharp_BrowserCommands
{
    public class BrowserCommandsTests
    {
        private static IWebDriver driver;
        private static readonly string gridURL = "@hub.lambdatest.com/wd/hub";
        private static readonly string LT_USERNAME = Environment.GetEnvironmentVariable("LT_USERNAME");
        private static readonly string LT_ACCESS_KEY = Environment.GetEnvironmentVariable("LT_ACCESS_KEY");
        private static readonly string testUrl = "https://ecommerce-playground.lambdatest.io/";


        [SetUp]
        public void Setup()
        {
            ChromeOptions capabilities = new ChromeOptions();
            capabilities.BrowserVersion = "latest";
            Dictionary<string, object> ltOptions = new Dictionary<string, object>();
            ltOptions.Add("username", LT_USERNAME);
            ltOptions.Add("accessKey", LT_ACCESS_KEY);
            ltOptions.Add("platformName", "Windows 11");
            ltOptions.Add("project", "Selenium Scroll");
            ltOptions.Add("w3c", true);
            ltOptions.Add("plugin", "c#-nunit");
            capabilities.AddAdditionalOption("LT:Options", ltOptions);
            driver = new RemoteWebDriver(new Uri($"https://{LT_USERNAME}:{LT_ACCESS_KEY}{gridURL}"), capabilities);
        }
}
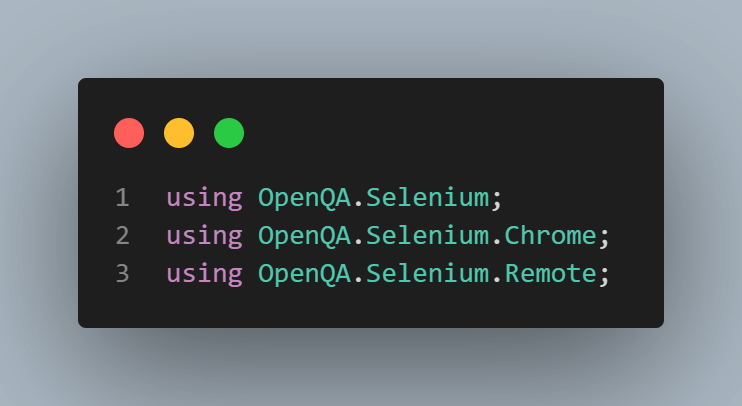
This code will be repeated before each test, so we only need to write it once. The first part of the class contains the using statements, which contain the libraries and namespaces used in the class:
Then comes the variables we need in our test:

To use the LambdaTest Selenium Grid to run the tests, we need to add the username and access key. The best way is to store them as environment variables and get the values from there.
However, before running the tests, you need to set the environment variables LT_USERNAME & LT_ACCESS_KEY from the terminal. You can check the account details on your LambdaTest Profile page.
For macOS:
export LT_USERNAME=LT_USERNAME export LT_ACCESS_KEY=LT_ACCESS_KEY
For Linux:export LT_USERNAME=LT_USERNAME export LT_ACCESS_KEY=LT_ACCESS_KEY
For Windows:set LT_USERNAME=LT_USERNAME set LT_ACCESS_KEY=LT_ACCESS_KEY
In addition, we need to declare the driver and the web page URL we would like to test.
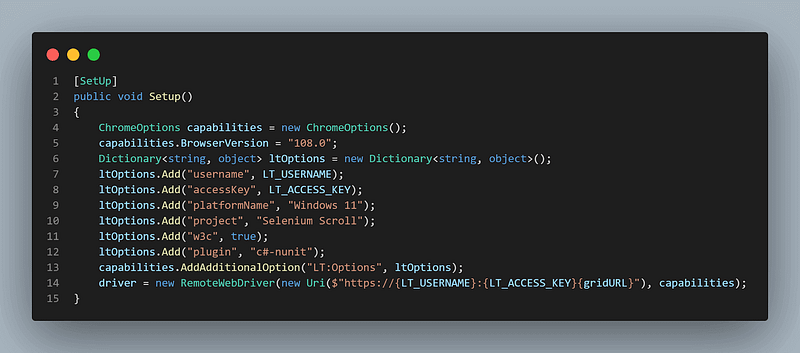
The following part pertains to the test configuration, encompassing the conditions, requirements, or any other necessary code that must be executed before the commencement of the test. Here, we’re adding the desired capabilities to my Chrome driver so that the test will run on this specific configuration.
The method has the SetUp NUnit annotation, which means that it will be executed before each test. Of course, it’s not mandatory to use NUnit; other automation testing frameworks are available in C#, such as MSTest or xUnit.
Browser Navigation Commands in Selenium C
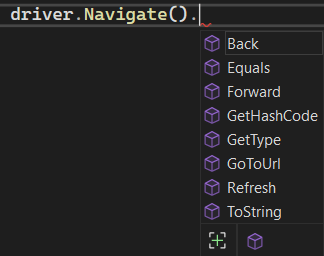
The Navigate() command in Selenium C# simulates how a user would navigate online. For example, going back and forward between the pages, going to a different URL, or refreshing a page using Selenium C#. Let’s look at how to use them:
Navigate().GoToUrl()
The GoToUrl() is the most used since this is usually the prerequisite step to add to our setup before testing the application.
Navigate().Refresh()
The Refresh() command will simulate the browser page refresh.
Navigate().Back() and Navigate().Forward()
The Navigate().Back() and Navigate().Forward() commands are used to simulate the back and forward actions in the browser.
So this is what the navigate commands look like when working with Selenium C#:
using OpenQA.Selenium;
using OpenQA.Selenium.Chrome;
using OpenQA.Selenium.Remote;

namespace SeleniumCSharp_BrowserCommands
{
    public class BrowserCommandsTests
    {
        protected static IWebDriver driver;
        private static readonly string gridURL = "@hub.lambdatest.com/wd/hub";
        private static readonly string LT_USERNAME = Environment.GetEnvironmentVariable("LT_USERNAME");
        private static readonly string LT_ACCESS_KEY = Environment.GetEnvironmentVariable("LT_ACCESS_KEY");
        protected static readonly string testUrl = "https://ecommerce-playground.lambdatest.io/";

        [SetUp]
        public void Setup()
        {
            ChromeOptions capabilities = new ChromeOptions();
            capabilities.BrowserVersion = "latest";
            Dictionary<string, object> ltOptions = new Dictionary<string, object>();
            ltOptions.Add("username", LT_USERNAME);
            ltOptions.Add("accessKey", LT_ACCESS_KEY);
            ltOptions.Add("platformName", "Windows 11");
            ltOptions.Add("project", "Selenium Scroll");
            ltOptions.Add("w3c", true);
            ltOptions.Add("plugin", "c#-nunit");
            capabilities.AddAdditionalOption("LT:Options", ltOptions);
            driver = new RemoteWebDriver(new Uri($"https://{LT_USERNAME}:{LT_ACCESS_KEY}{gridURL}"), capabilities);
        }

        [Test]
        public void NavigateMethods()
        {
            // Navigate to the test URL
            driver.Navigate().GoToUrl(testUrl);

            // Refresh the current page
            driver.Navigate().Refresh();

            // Go back once
            driver.Navigate().Back();

            // Go forward
            driver.Navigate().Forward();
        }
    }
}
Browser Manage Commands in Selenium C
The Manage() interface instructs the driver to change its settings. This includes things like resizing the window and handling browser cookies.
Manage().Window
Using the same setup as before, you can use the following commands to change the size of the window:
[Test]
        public void ManageWindows()
        {
            // First, navigate to the URL
            driver.Navigate().GoToUrl(testUrl);

            // Maximize the browser window
            driver.Manage().Window.Maximize();

            // Minimize the browser window
            driver.Manage().Window.Minimize();

            // Modify the window size using the given parameters for width and height
            driver.Manage().Window.Size = new Size(500, 300);
        }
Manage().Cookies:
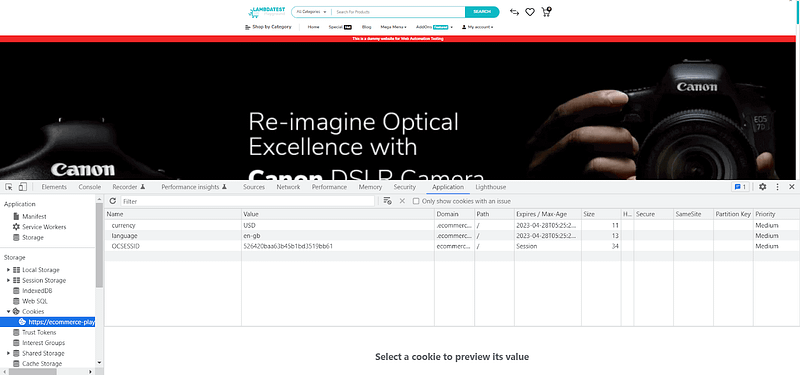
If you need to work with cookies, use the Manage() interface. To see the cookies the website uses in the browser, you can open the Developer Tools under the Application tab and check the Storage — Cookies menu. You can learn more about it through this blog on handling cookies in Selenium WebDriver.
Here are the cookies of our test website:
And this is how the commands look in a test:
[Test]
public void CookiesCommands()
{
    driver.Navigate().GoToUrl(testUrl);

    // Add a new cookie
    driver.Manage().Cookies.AddCookie(new Cookie("cookieName", "value"));

    // Retrieve a cookie based on its name
    // In this case, the "currency" cookie
    var cookie = driver.Manage().Cookies.GetCookieNamed("currency");

    // Delete a cookie based on its name
    // In this case, the "language" cookie
    driver.Manage().Cookies.DeleteCookieNamed("language");

    // Delete a given cookie
    // In this case, the cookie saved as a variable earlier
    driver.Manage().Cookies.DeleteCookie(cookie);

    // Deletes all the cookies
    driver.Manage().Cookies.DeleteAllCookies();
}
Switch Window Commands in Selenium C
Window switching or using the SwitchTo() command in test automation is a technique used to switch between different windows or frames within a web application. This command is used in Selenium, a popular test automation framework, to switch the driver’s focus to a different window or frame to perform the subsequent actions in the appropriate context.
The SwitchTo() commands in Selenium allow you to move the focus to a different window, a frame, or an alert. Let’s have a look at how they work.
SwitchTo().Window()
You can open multiple browser windows (or tabs) simultaneously where you want to interact with them one at a time — even if the interaction might mean only closing them. To get the full list of opened windows, you can use the CurrentWindowHandle or WindowHandles properties, then switch to the desired window:
[Test]
public void SwitchWindows()
{
    // Get the current window’s handle
    var handle = driver.CurrentWindowHandle;

    // Get the list of all opened windows’ handles
    var handles = driver.WindowHandles;

    //Switch to the window you want active in your test
    driver.SwitchTo().Window(handle);

    //Switch to the window you want active in your test, by selecting it from a list
    driver.SwitchTo().Window(handles[3]);
}
SwitchTo().Alert()
An alert is a dialog box that appears on the screen and interrupts the user’s interaction with the web application until it is either dismissed or handled.
Handling alerts in Selenium is an essential aspect of test automation because alerts are commonly used in web applications for various purposes, such as validation, confirmation, or error reporting. If an alert is not handled properly in a test automation script, it can cause the script to fail or produce inaccurate results.
Get a head start on your CI/CD pipeline with our pre-built template for automated testing. Explore this comprehensive list of CI/CD test cases and scenarios.
Here, we will see how the alerts work, taking LambdaTest Playground as an example.
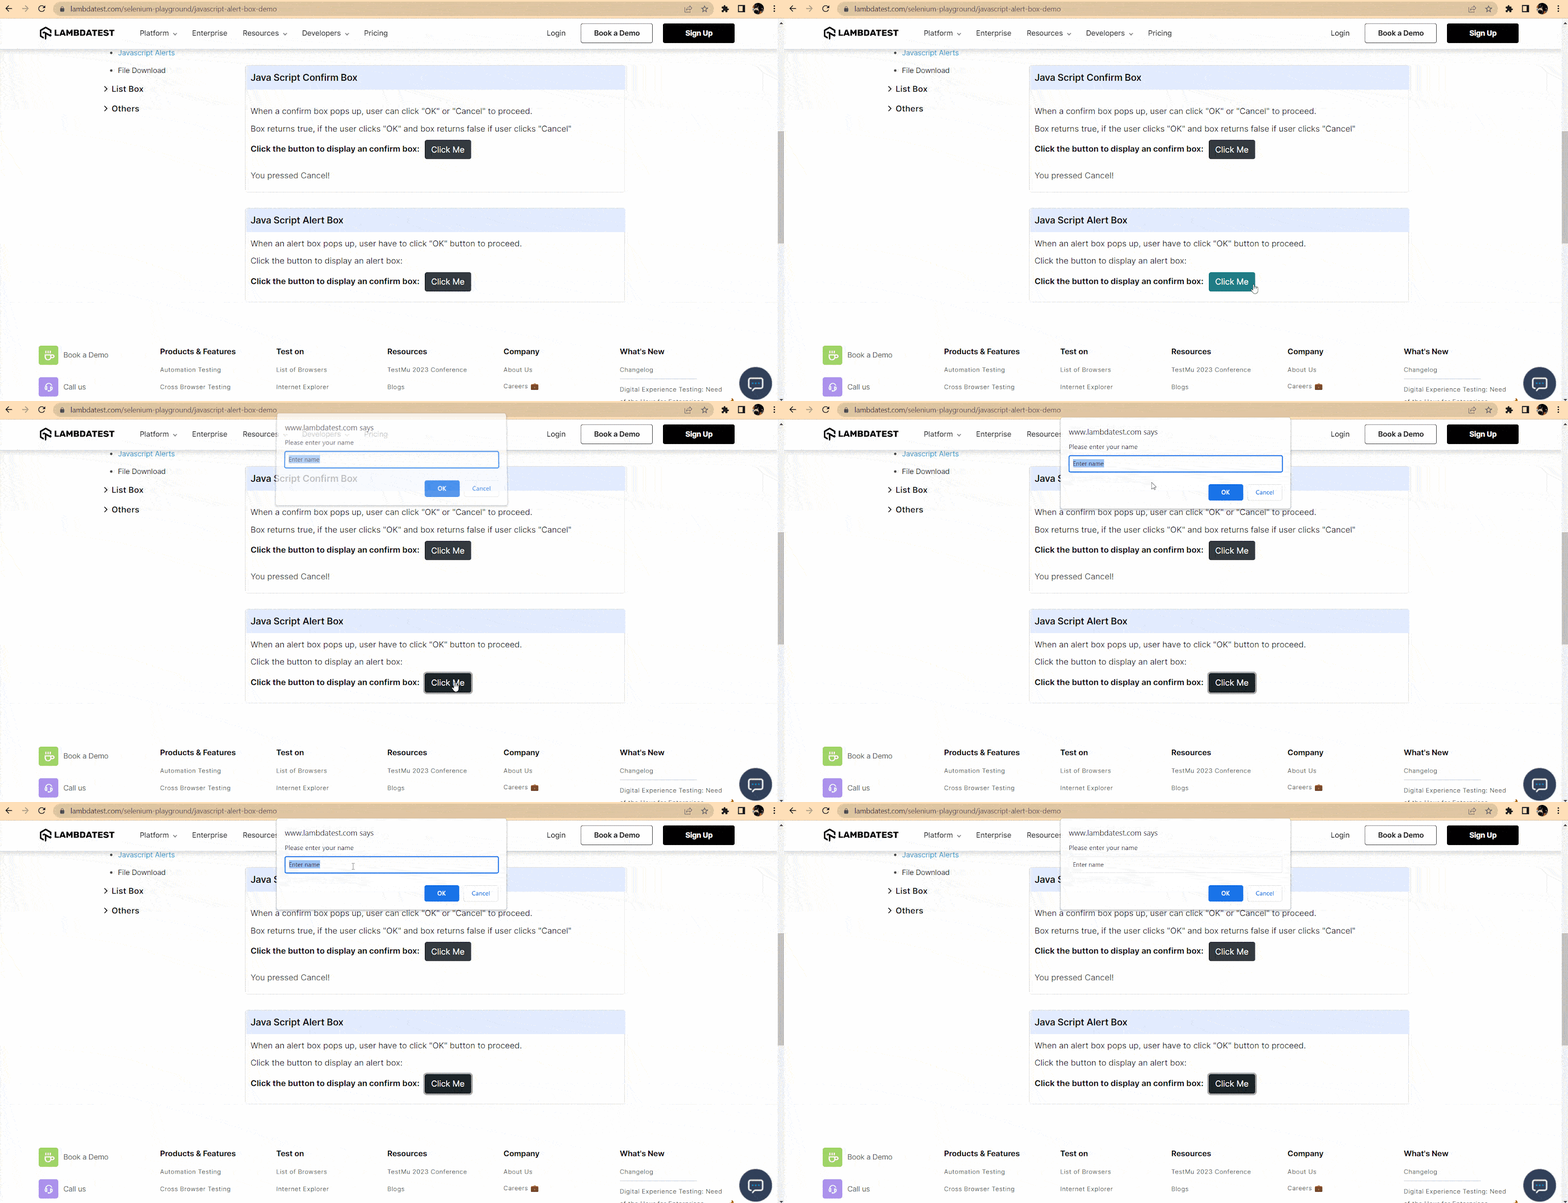
I have an alert with a confirm box that allows adding a text before accepting or dismissing it. But before I act on the alert, I must switch to it. Here’s how the switch command for alerts looks and the available actions:

We have one scenario for dismissing the alert:
[Test]
public void DismissAlert()
{
    // Navigate to the desired page
driver.Navigate().GoToUrl("https://www.lambdatest.com/selenium-playground/javascript-alert-box-demo");

    // Identify the button to click
    driver.FindElement(By.XPath("//div[contains(text(),'Java Script Alert Box')]/following-sibling::p/button")).Click();

    // Dismiss the alert
    driver.SwitchTo().Alert().Dismiss();
}
And another one where we use both the SendKeys() and the Accept() commands:
[Test]
public void SendKeysAndAcceptAlert()
{
    // Navigate to the desired page
    driver.Navigate().GoToUrl("https://www.lambdatest.com/selenium-playground/javascript-alert-box-demo");

    // Identify the button to click
    driver.FindElement(By.XPath("//div[contains(text(),'Java Script Alert Box')]/following-sibling::p/button")).Click();

    // Enter text in the alert box
    driver.SwitchTo().Alert().SendKeys("It's me, Mario");

    // Accept the alert
    driver.SwitchTo().Alert().Accept();
}
To find an element on a page and click it (before the alert pops, you need to press the Click me buttons), you need to use the findElement() Selenium command.
SwitchTo().Frame()
Web pages can be divided into several sections using HTML frames, and each section can load a different HTML document. Sometimes you want to interact with elements that are inside a different frame than the active one, so you need, once more, to use the switch command in Selenium.
To demonstrate, let’s take a look at this web page. If you check its code, it contains several frames (marked by the HTML tag iframe). Here’s how you can work with them:
[Test]
public void SwitchToFrames()
{
    // Navigate to the desired page
    driver.Navigate().GoToUrl("https://codepen.io/fidabrj/pen/NWYeaqG");

    // Switch to frame by name
    driver.SwitchTo().Frame("result");

    // Switch to the parent frame
    driver.SwitchTo().ParentFrame();

    // Switch to the first frame or the main document of the web page
    driver.SwitchTo().DefaultContent();
}
Close and Quit Commands in Selenium C
If you want to close the browser instances opened by Selenium, you have two options. The first is to close the current window:
driver.Close();
Or close all opened windows. I recommend using a TearDown method for your tests — to close all opened instances of the browser at the end of each test. It should look like this:
[TearDown]
public void TearDown()
{
    driver.Quit();
}
Url, Title, and PageSource properties in Selenium C
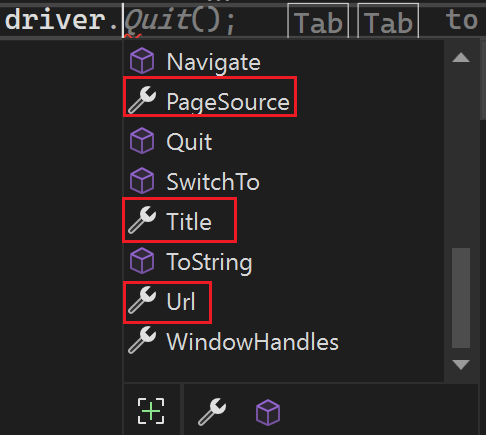
The next three subpoints are not commands in Selenium C# but properties. They are nevertheless important and often used in UI tests.
Url
The first on the list is the Url property. This is the address of the opened web page and is stored as a string.
This can be useful when you want to check that the navigation was done correctly after other actions performed in the application, like clicking a link or pressing a button.
Discover the top 50+ essential Flutter test cases to ensure your mobile applications are bug-free before their release. Download our comprehensive template now.
PageTitle
Similarly, you can obtain the current page title as a string. This is handy to validate that the page has the correct title.
PageSource
And last but not the list, you can also obtain the page’s source code, similar to what you see in the browser when you right-click on the page and select “View page source”.
Using these three attributes in a test looks something like this:
[Test]
public void Properties()
{
    driver.Navigate().GoToUrl(testUrl);

    // Validate that the page title is correct
    Assert.That(driver.Title == "Your Store");

    // Validate that the page Url is correct
    Assert.That(driver.Url == testUrl);

    // Validate that the page source contains expected text
    Assert.That(driver.PageSource.Contains("Top Trending Categories"));
}
I will explain how the Assert works in a bit, too.
Demonstration — Selenium IWebDriver Browser Commands in C
In this section of the IWebDriver browser commands tutorial, let’s see a scenario that uses some of these IWebDriver browser commands to see them in a testing context.
Test Scenario
Navigate to the page https://ecommerce-playground.lambdatest.io/
Maximize the browser window.
Click on the Special link.
Validate that the page title is “Special offers”.
Go back to the previous page.
Validate that the URL is https://ecommerce-playground.lambdatest.io/
Validate that the cookie “currency” has the value “USD”.
Close the browser window.
Implementation
Below is the code you need for this test, created with Selenium 4.8 and NUnit testing framework. If you need help setting up the project and adding driver capabilities, follow the steps in this Selenium C# tutorial.
using OpenQA.Selenium;
using OpenQA.Selenium.Chrome;
using OpenQA.Selenium.Remote;

namespace SeleniumCSharp_BrowserCommands
{
    public class BrowserCommandsTests
    {
        private static IWebDriver driver;
        private static readonly string gridURL = "@hub.lambdatest.com/wd/hub";
        private static readonly string LT_USERNAME = Environment.GetEnvironmentVariable("LT_USERNAME");
        private static readonly string LT_ACCESS_KEY = Environment.GetEnvironmentVariable("LT_ACCESS_KEY");
        private static readonly string testUrl = "https://ecommerce-playground.lambdatest.io/";

        [SetUp]
        public void Setup()
        {
            ChromeOptions capabilities = new ChromeOptions();
            capabilities.BrowserVersion = "108.0";
            Dictionary<string, object> ltOptions = new Dictionary<string, object>();
            ltOptions.Add("username", LT_USERNAME);
            ltOptions.Add("accessKey", LT_ACCESS_KEY);
            ltOptions.Add("platformName", "Windows 11");
            ltOptions.Add("project", "Selenium Scroll");
            ltOptions.Add("w3c", true);
            ltOptions.Add("plugin", "c#-nunit");
            capabilities.AddAdditionalOption("LT:Options", ltOptions);
            driver = new RemoteWebDriver(new Uri($"https://{LT_USERNAME}:{LT_ACCESS_KEY}{gridURL}"), capabilities);
        }


        [Test]
        public void NavigateTest()
        {
            driver.Navigate().GoToUrl(testUrl);
            driver.Manage().Window.Maximize();
            driver.FindElement(By.PartialLinkText("Special")).Click();
            Assert.That(driver.Title.Equals("Special Offers"));
            driver.Navigate().Back();
            Assert.That(driver.Url.Equals(testUrl));
            var cookie = driver.Manage().Cookies.GetCookieNamed("currency");
            Assert.That(cookie.Value.Equals("USD"));
        }

        [TearDown]
        public void TearDown()
        {
            driver.Quit();
        }
    }
}
Code Walkthrough
The first part is the setup we created above, so there’s no real need to get into its details again. So let’s jump directly to the test.
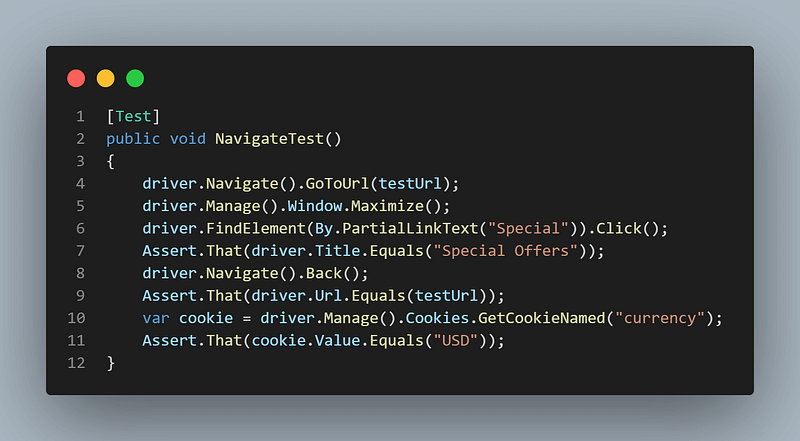
Again, the method is marked with the Nunit [Test] annotation, which means it will show up in the Test Explorer of Visual Studio:
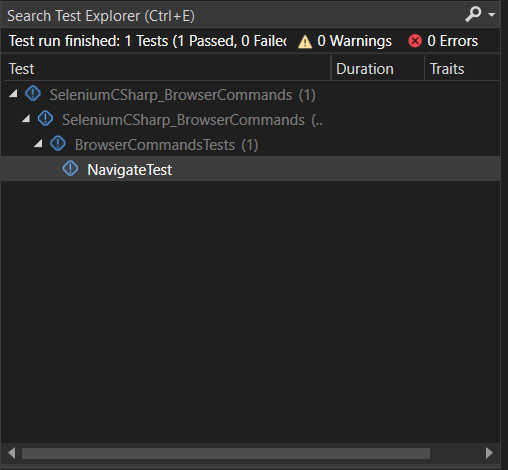
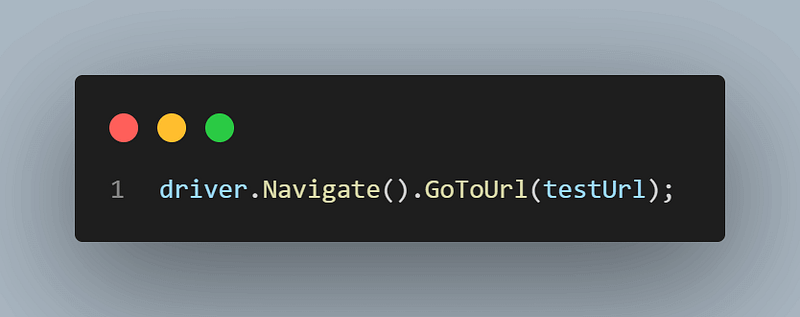
Next, we will be using some of the commands discussed earlier. To navigate to the web page’s address, we have the Navigate() command:
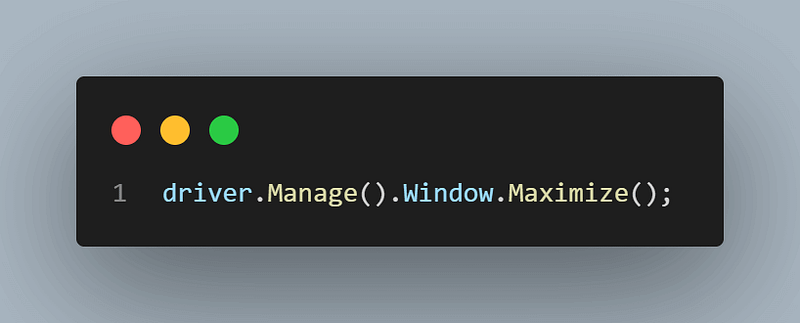
Then, we maximize the window using:
Next up, we need to interact with an element to click on it. We can use XPath as a locator, and the Click() command to interact with the web element:

The fourth step of the test is to verify that the web page has the correct title. This is easily done using the Title attribute and comparing it with the expected value. We use the Assert class, provided by NUnit. The test will continue if the two values are equal and the validation passes. If the assertion fails, the test will fail, and the following steps will not be executed.

Moving on, we go back one page, using the command:
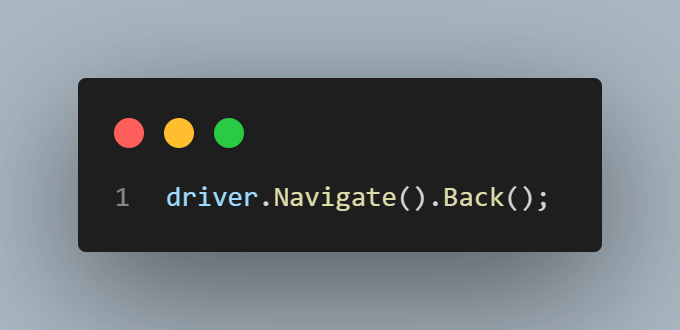
It’s usually a good practice to keep the number of assertions to a minimum; for the sake of this demonstration, I will use more than one assertion in this test.
Learn 43 excellent test cases for salesforce test cases by reading this guide. Every significant test case will be covered in detail in this guide, along with how to set up your Salesforce testing.
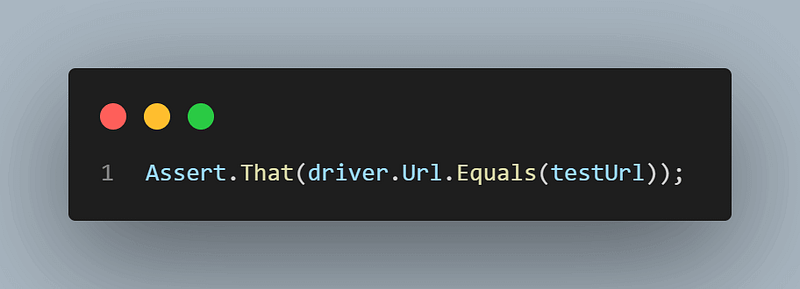
First, we want to check that the back navigation worked as expected, so we assert that the current Url of the page is the same as the first Url we used (the one stored in the testUrl variable):
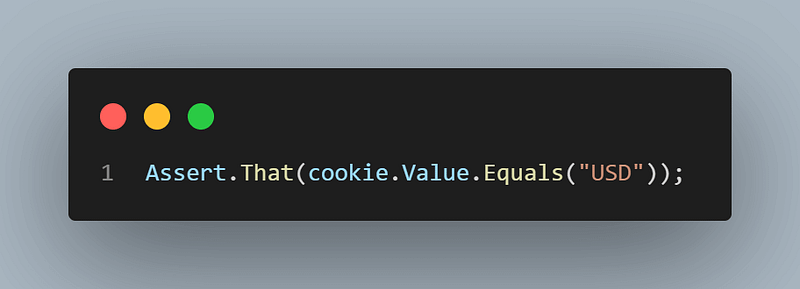
We also want to verify that the currency cookie is set to USD. For this, we must first get the cookie information and store it in a variable:

And check that the cookie’s value is the expected one, using another assert:
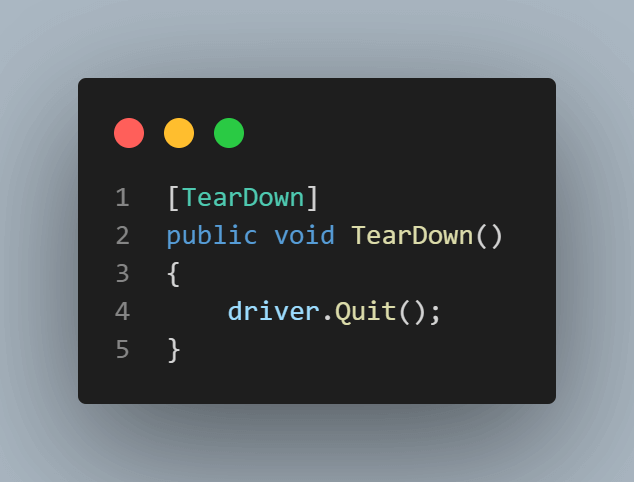
The last step is closing the browser. However, I want this step to execute regardless of the status of the previous steps, so I added it to a teardown method. In this specific example, I only have one test, but in a real-life project with multiple tests, a method marked with the [TearDown] NUnit annotation will run after each test.
If you are a developer or tester who wants to take your Selenium C# skills to the next level, consider taking Selenium C# 101 certification by LambdaTest. The certification is designed to validate the skills and knowledge of testers and developers who work with Selenium and C#.
Read this tutorial about ServiceNow Test cases , to know what it is, it’s benefits, types and test cases.
Conclusion
Understanding the IWebDriver browser commands in Selenium C# is essential for any aspiring automation tester or developer who wants to build efficient and robust automated tests. This blog has provided an overview of the various IWebDriver browser commands available in Selenium’s IWebDriver interface, including navigation commands, window, and frame and cookie commands.
Additionally, we have seen how to use these commands in C# code examples. With this knowledge, you can build robust automated tests with Selenium and C# to help you deliver high-quality software applications.
